
Achieving the perfect blowout at home can seem like a daunting task, but with the right tools and techniques, it’s entirely possible. A round brush is a key tool in creating that salon-quality blowout, adding volume, shine, and smoothness to your hair. Here’s a step-by-step guide on how to use a round brush to get the perfect blowout.
1. Preparation is Key
Before you start, preparation is crucial for a smooth and lasting blowout.
Wash and Condition
- Choose the Right Products: Use a volumizing shampoo and conditioner to add body to your hair. For those with frizzy or dry hair, a smoothing conditioner can help achieve a sleeker look.
- Rinse Well: Ensure all product is thoroughly rinsed out to avoid any residue weighing your hair down.
Towel Dry
- Pat, Don’t Rub: Gently pat your hair with a towel to remove excess water. Rubbing can cause frizz and damage.
- Use a Microfiber Towel: This type of towel reduces frizz and absorbs water more efficiently.
Apply Heat Protectant
- Essential Step: Always apply a heat protectant spray or serum to shield your hair from heat damage. Ensure it is evenly distributed through your damp hair.
2. Sectioning Your Hair
Dividing your hair into sections makes the blowout process more manageable and ensures every part of your hair is styled evenly.
- Start with the Bottom: Clip the top half of your hair out of the way, leaving the bottom layer free.
- Work in Small Sections: Smaller sections are easier to manage and result in a smoother blowout. Aim for sections about 1-2 inches wide.
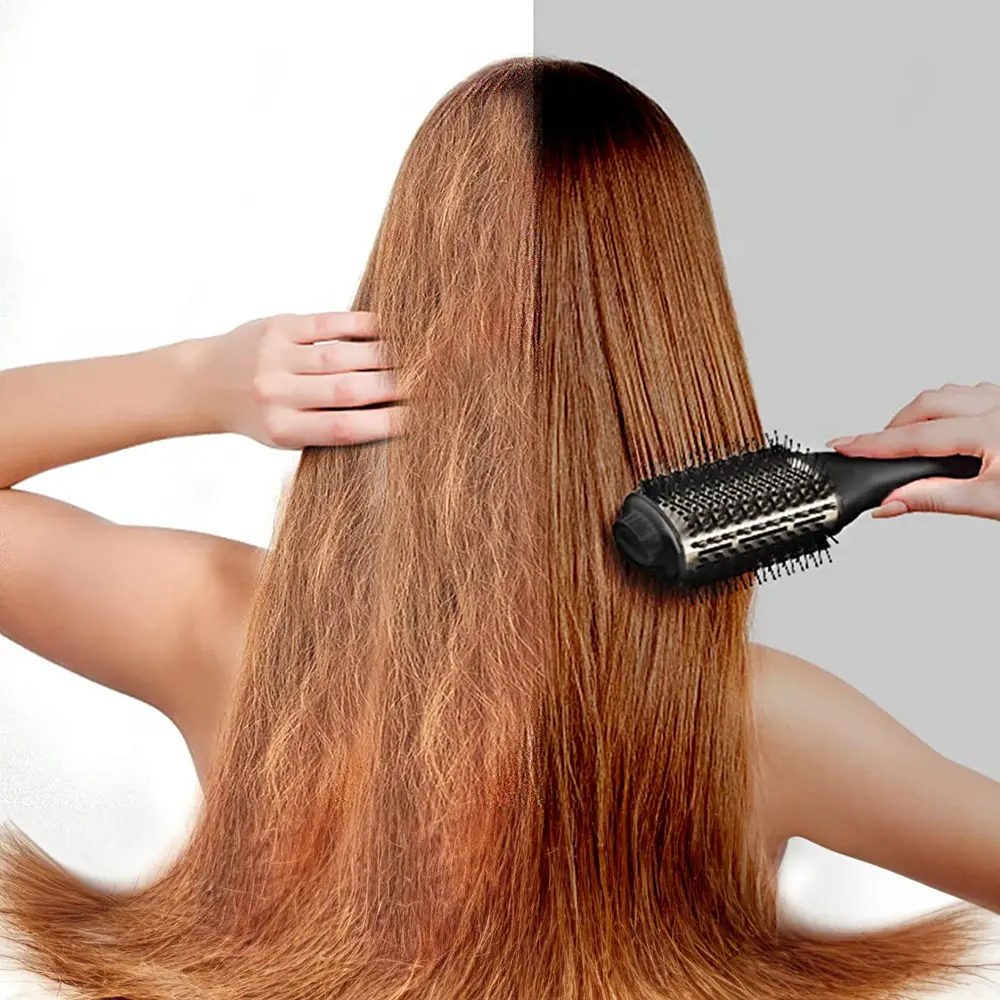
3. Using the Round Brush
The round brush is your primary tool for achieving volume and smoothness.
Choosing the Right Brush
- Barrel Size: Large barrels are ideal for adding volume and creating loose waves, while smaller barrels are perfect for tighter curls and more control.
- Bristles: Natural bristles are great for smoothing and adding shine, while nylon bristles provide better grip for styling.
Technique
- Position the Brush: Place the round brush underneath the section of hair at the roots.
- Direct the Airflow: Point the hair dryer nozzle downwards, directing the airflow along the hair shaft. This helps to smooth the cuticle and adds shine.
- Pull and Roll: As you pull the brush down towards the ends, simultaneously roll it to create tension. This tension helps to straighten the hair and add volume at the roots.
- Dry Completely: Ensure each section is completely dry before moving on to the next. Damp hair can lead to frizz and a less polished finish.
4. Finishing Touches
Once your hair is fully dry, a few finishing steps can help set your style and add extra polish.
Cool Shot
- Lock in the Style: Use the cool shot button on your hair dryer to set the style. The blast of cool air helps to lock in the shape and add shine.
Serum or Oil
- Add Shine: Apply a small amount of serum or lightweight oil to your palms, rub them together, and gently smooth over the ends of your hair to add shine and reduce any remaining frizz.
Hairspray
- Hold the Style: A light mist of flexible hold hairspray will keep your blowout looking fresh all day without making it stiff or crunchy.
5. Practice Makes Perfect
Achieving the perfect blowout takes practice. Don’t be discouraged if your first few attempts aren’t perfect. Over time, you’ll become more adept at handling the round brush and hair dryer, and your technique will improve.
Conclusion
A round brush is an indispensable tool for achieving a salon-quality blowout at home. By following these steps—prepping your hair properly, sectioning it, using the right technique with the round brush, and finishing with the right products—you can create a beautiful, voluminous blowout that lasts all day. With a little practice, you’ll master the art of the perfect blowout, making it a staple in your hair care routine.


